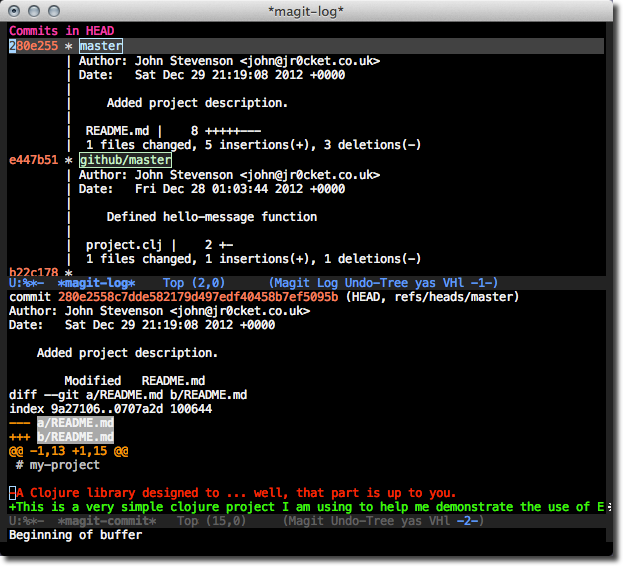
Using animated gifs are a lightweight way to show Emacs in action, as can be seen at Emacs Gifs.
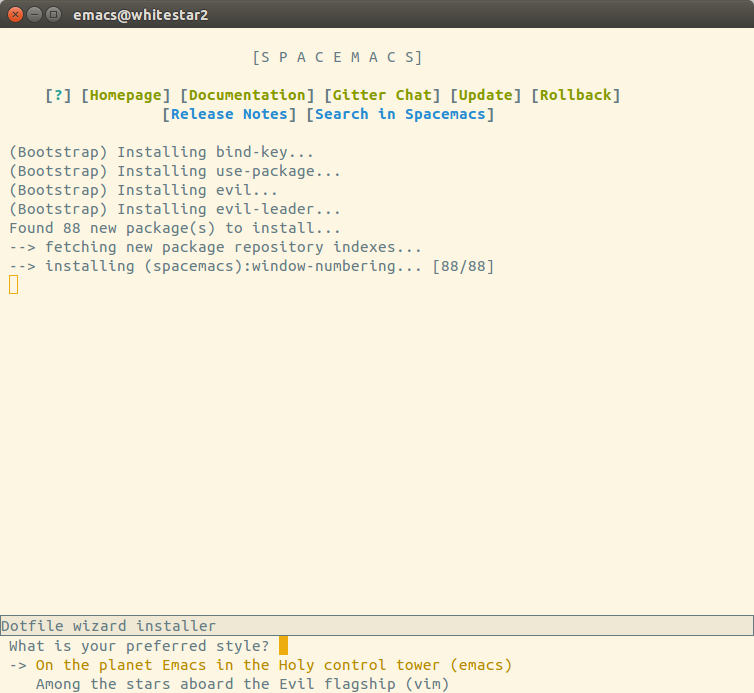
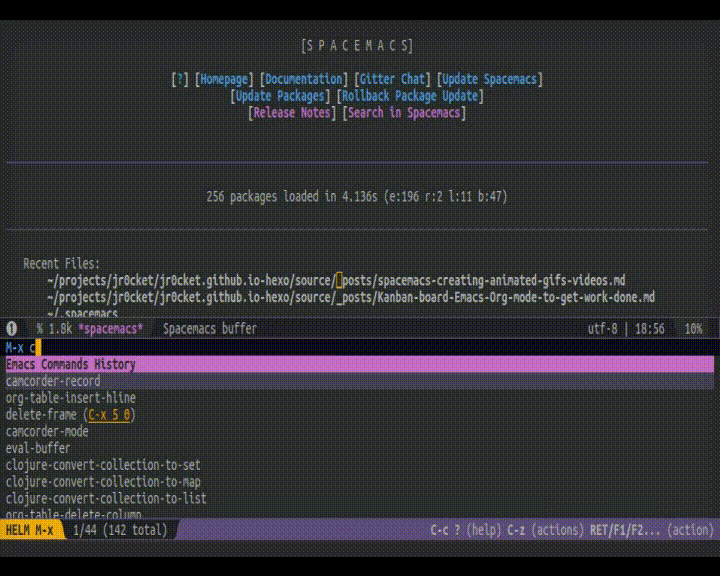
I am creating a workshop on developing Clojure with Spacemacs, so here is a little guide as to how I create animated gifs and videos for this workshop directly from Emacs itself using camcorder.el.
There are several different ways to create animated gifs and so far I have found camcorder.el to be the easiest. This approach has been tested on Ubuntu Linux 16.10.
Why an animated gif rather than video?
Being an image format, animated gifs can be used like any other image. So they are easy to include in websites. They will also play continually without any additional code.
Animated gifs are typically smaller in size, so are quicker to download than video and use less resources too.
Some small amount of quality is lost when converting to an animated gif. However, using the optimised and hence slower conversion gives a reasonable quality. I am still experimenting with the setting though to see if I can make the conversion better.
camcorder.el
camcorder.el enables you to create a screen capture specifically of Emacs. When run, a new Emacs frame is created with the contents of the current buffer and your actions in that frame are recorded as a video.
Then camcorder.el can convert the video to an animated gif.
Requirements for camcorder.el
The camcorder.el package itself does not actually do the recording or even the converting, its simply a convienient way to manage other tools without having to leave Emacs.
- recordmydesktop - a linux based video & audio recorder
- mplayer - movie player and converter
- imagemagick - create, edit, compose, or convert bitmap images
- ffmpeg - video conversion tools
For a quick and simple conversion from video to animated gif you can select ffmpeg. If you want to optimise the size of the resulting animated gif then select the combination of mplayer and imagemagick.
1 | sudo apt-get install recordmydesktop mplayer imagemagick |
Add camcorder to Spacemacs
As far as I am aware there is not yet a Spacemacs layer that includes camcorder.el. So instead we add camcorder.el as an additional package.
Edit your ~/.spacemacs configuration file and find dotspacemacs-additional-packages. Then add camcorder to that list of packages:
1 | dotspacemacs-additional-packages '(camcorder) |
You will need to either reload your Spacemacs configuration with SPC f e R or restart Emacs.
Capturing with camcorder
Run either camcorder-record or camcorder-mode to record Emacs. You are first prompted to give the file name of the video output (ogv video format).
Once you have specified the video name, a 3 second countdown will run before starting the recording.
| Command | Description |
|---|---|
M-x camcorder-record |
Open a new Emacs frame and record |
M-x camcorder-mode |
Record current Emacs frame |
F11 |
Toggle pause pause |
F12 |
Stop recording and save video |
Screencasts are generated in ogv format, although if you hack camcorder.el you could change the video format used and even the video capture tool (recordmydesktop).
As capturing creates a video file, you can edit that file with tools such as OpenShot or Blender video editors. So if you make a small error or want to shorten (or lengthen) a part of the video, then edit it before you convert it to gif.
Converting with camcorder
You can convert the videos you generated during capturing, or any other supported video type. So you can also used camcorder.el if you recorded Emacs (or other tools) separately.
Run the M-x camcorder-convert-to-gif and you are prompted for the video file to convert to an animated gif.
Tweaking camcorder.el
I initially made one tweak to camcorder.el, to change the size of the frame created for the capture. I fount the frame too small to work with on a high resolution monitor. The only challenge with this is it creates a larger file for the animated gif.
I changed the height from 20 to 32 and the width from 65 to 120. These sizes provided more space to see the Spacemacs menu as I demonstrate features. When creating screen captures I run my desktop at a resolution of 1360x768 and a Spacemacs font size of 16 (Ubuntu Mono).
1 | (defcustom frame-parameters |
After some testing I have now reverted back to the original height of 20 and width of 32. I have also reduced the font settings in Spacemacs to us Ubuntu Mono with a font size of 12.
In Summary
The package camcorder.el provides a simple 2-step process to create animated gif images of Emacs demos. You can tweak the script easily and can also use different tools to do the screen capture.
Animated gifs are very easy to distribute, especially on web pages and github pages sites. With this process you also have a video version of the demo too.
Keeping your demos short, between 10 and 20 seconds, typically makes the animated gifs easy to follow. So think about what the most important point you are trying to convey when you are creating a new animated gif.
]]>Using animated gifs are a lightweight way to show Emacs in action, as can be seen at Emacs Gifs.
I am creating a workshop on developing Clojure with Spacemacs, so here is a little guide as to how I create animated gifs and videos for this workshop directly from Emacs itself using camcorder.el.
]]>There are several different ways to create animated gifs and so far I have found camcorder.el to be the easiest. This approach has been tested on Ubuntu Linux 16.10.